
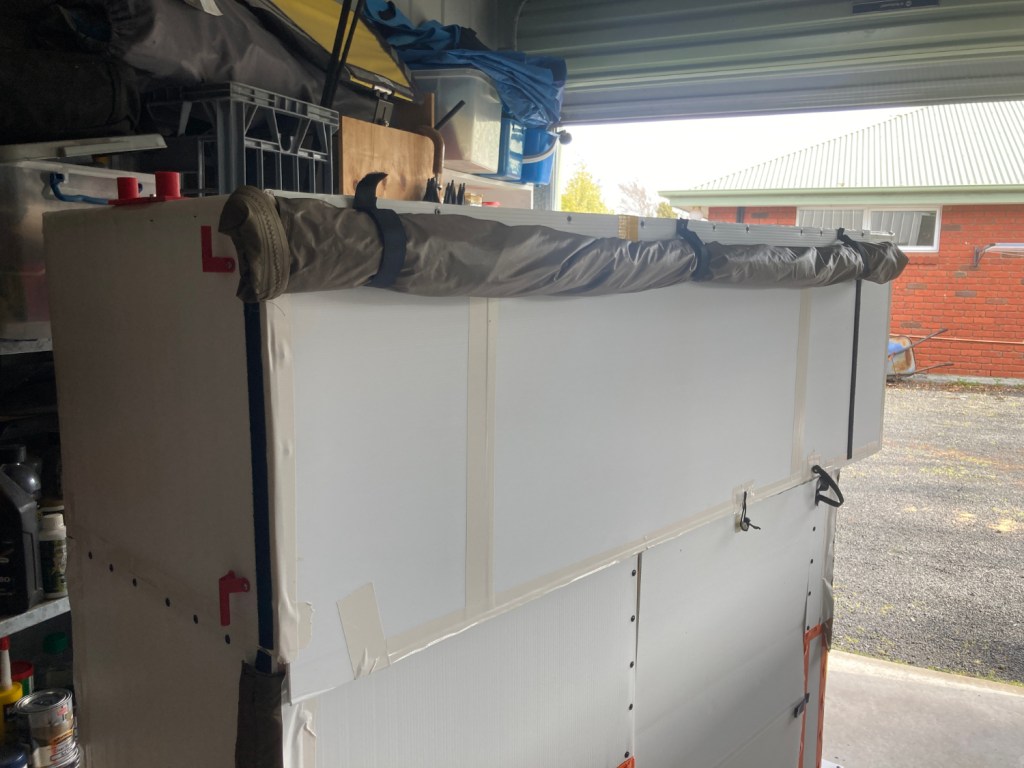
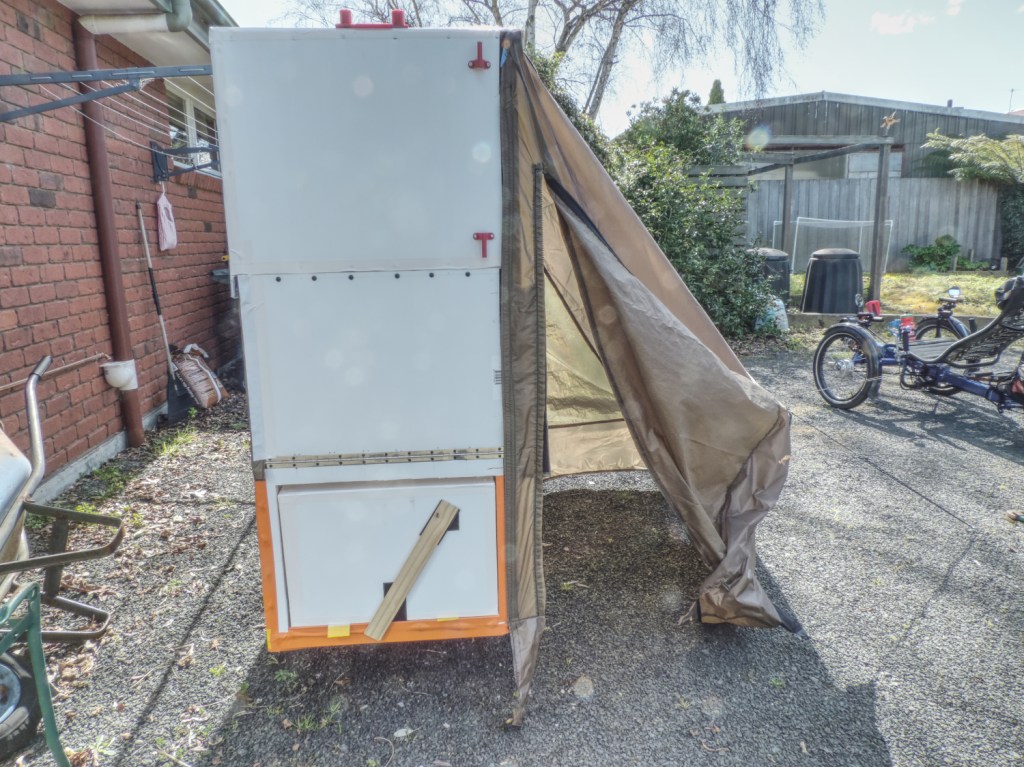
Yes, the Tasmanian built Beriault Bicycle Camper is ready to receive it’s Vestibule.
I planned to use an old lightweight tarp for the “tent”. Although I had used it for a few years to cover the trike on overnight rides (and the longer trip to Adelaide), it still seems OK. I laid it out and started drawing lines, then hit the first snag. It wasn’t big enough! So I ordered a second tarp of the same type from Melbourne and sat back to wait and think the task over. Or, overthink maybe?
Delivery from Melbourne was just a couple of days so soon we were back in business.
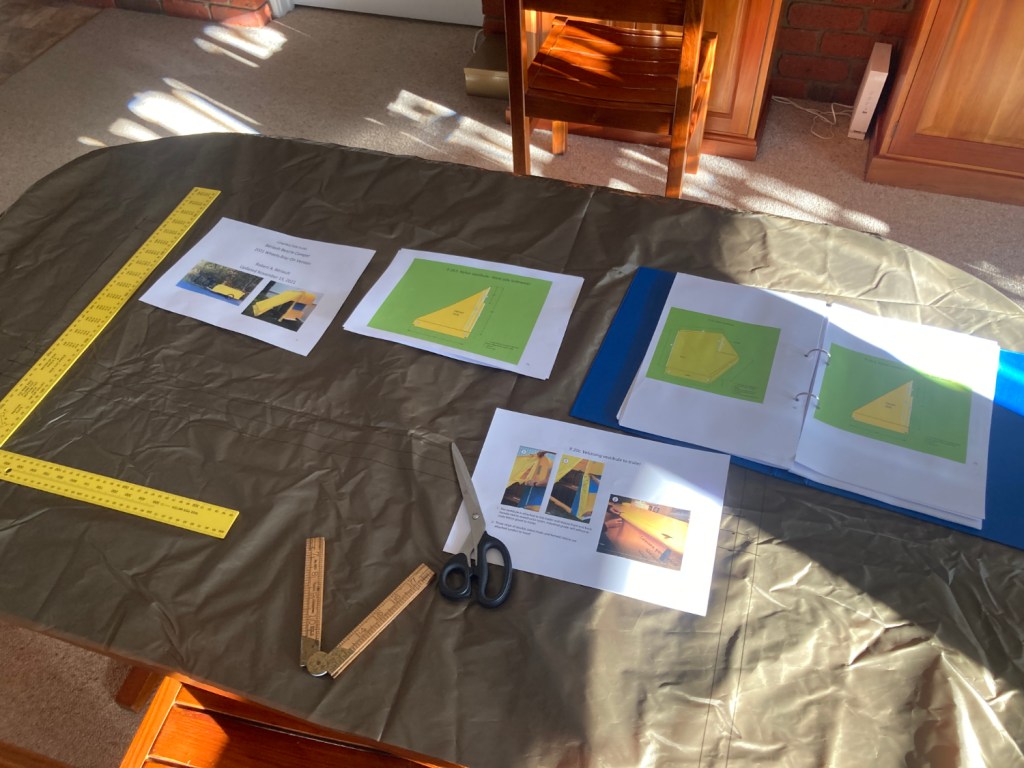
It took me some time to cut out all the components for the tent. I don’t know how much material is needed for hems and such like and Sue wasn’t much help there as she hadn’t used this type of material before. Eventually joint decisions on such matters were made and the material was cut. Surprisingly it took a couple of days to complete the cutting as, after I made one mistake (and imagining that any more would create the need for a third tarp), there was a lot of re-measuring happening and cups of tea drunk. Finally, taped together and matched up against the camper, it all looked OK. It was time to get sewing.

We had no idea what thread to use – so used what was in the sewing box. It was obvious the material and thread would not be watertight so, on a trip to Launceston, I hit Paddy Pallins (Aussie camping shop) and bought a tube of seam sealer.
Gradually the pieces came together. It was a slow job as neither of us had much of an idea how to make a tent! I measured things based on the design in the plans and kept checking against real measurements from the camper while Sue sewed it as best she could.
It was taking us a while to work through this series of tasks and was all a bit daunting, so I went for a ride.
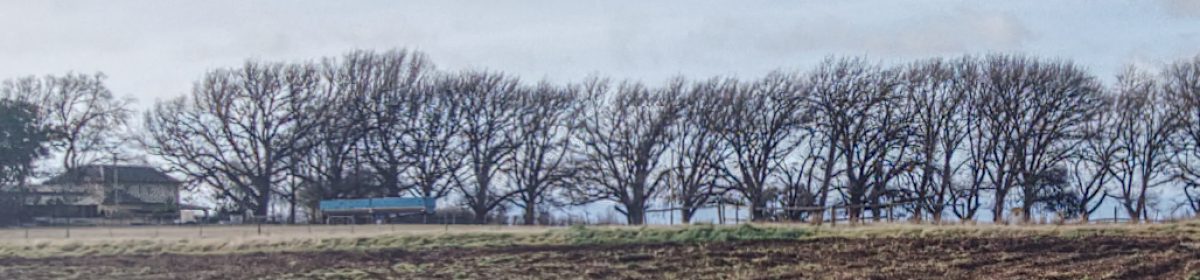
A short ride to Panshanger

All too soon we were back at the sewing machine !
Finally the last seam was sewn, the last length of velcro added and we had located the zip we found in a Launceston upholstery shop – a long and tough one for use in the entry/exit. I measured and drew placement lines for the zip and then checked it 3 times to make sure we were adding it in the right place. After a final check against the camper, we sewed the zip in then cut and made the opening. I took the tent out to the camper and found that after all that – the zip was at the wrong end!! Couldn’t believe it. I tried the tent all ways round but no – the entry decided to be at the rear of the camper. Bugger.
OK. This can’t be changed. It’s a shame because the front entry was designed so the storage boxes removed from the pull outs can be stored against the trailer when in camping mode. With a rear entry they may have to be stored against the vestibule itself. Hopefully this won’t be an issue (I almost followed that with the annoying, much in-use phrase spoken by Politicians and others giving us advice for our own good – as in ‘won’t be an issue “Going Forward“‘. Get a grip TC !!)

Accepting the situation, I prepared two strips of corflute the length of the vestibule. The plan was to glue the material to one of the lengths then sandwich it between both strips while screwing the lot to the hood. This is exactly how Robert did it in his initial design and I had no reason to change it.
I was unsure how the hot glue would react with the tarp material and where vacant screw positions could be found along the top of the hood. There are already a fair few screws holding the hood together and I didn’t want to share their space. Locating the screws holding the corflute sides and top was simple enough but there are also screws holding the hood frame together. How to locate their position? This attachment task bothered me for a while, unnerved following the zip incident. Would I stuff up the hood, the vestibule or both?
To find the framework screw points I needed a bright light inside the camper. This should make the hood framework’s shadow visible from outside. The front light from the trike was bright enough to throw a good shadow, the positions were noted, worry was put on hold, fingers were crossed and the drilling began.
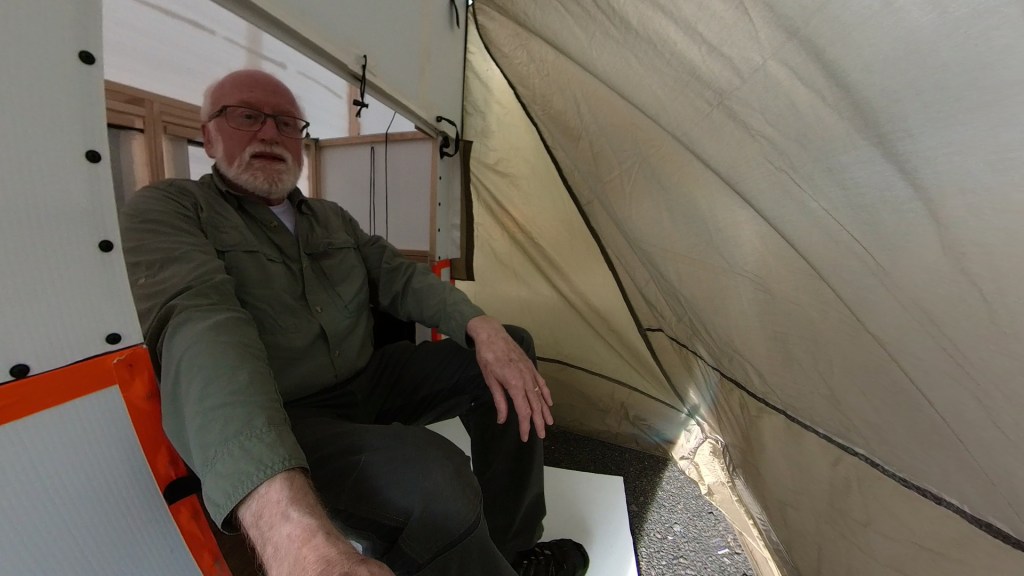
In the end attaching the tent to the trailer was one of the easier jobs !!
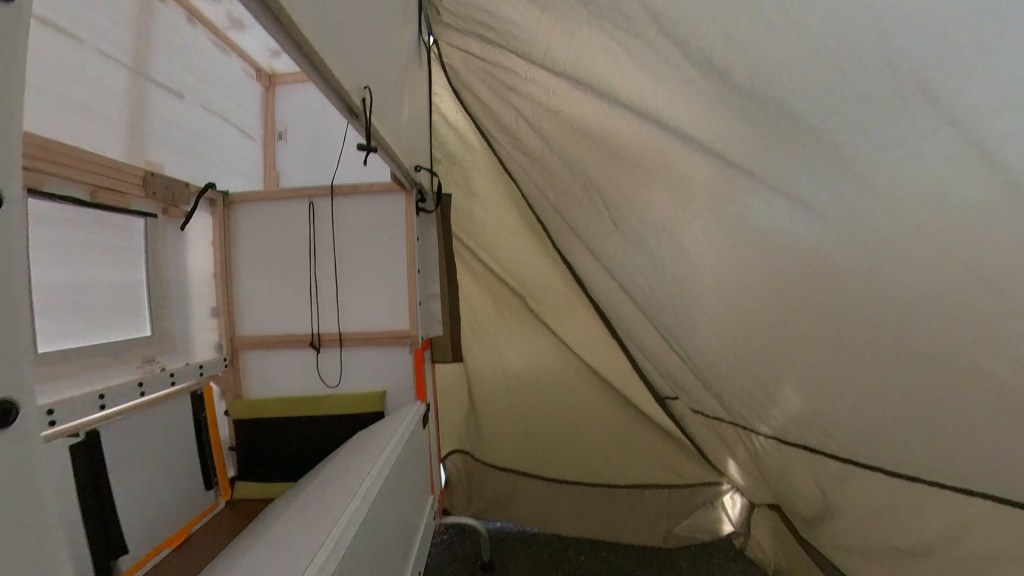
The next day was wet and wild so I spent the time sealing the seams applying the seam sealer. The sealer is an interesting product. A see-through whitish liquid which is brushed onto the seams and the brush is then washed out in water. I presume that, after the liquid cures on the seams, it turns into something that doesn’t wash away in the rain !!
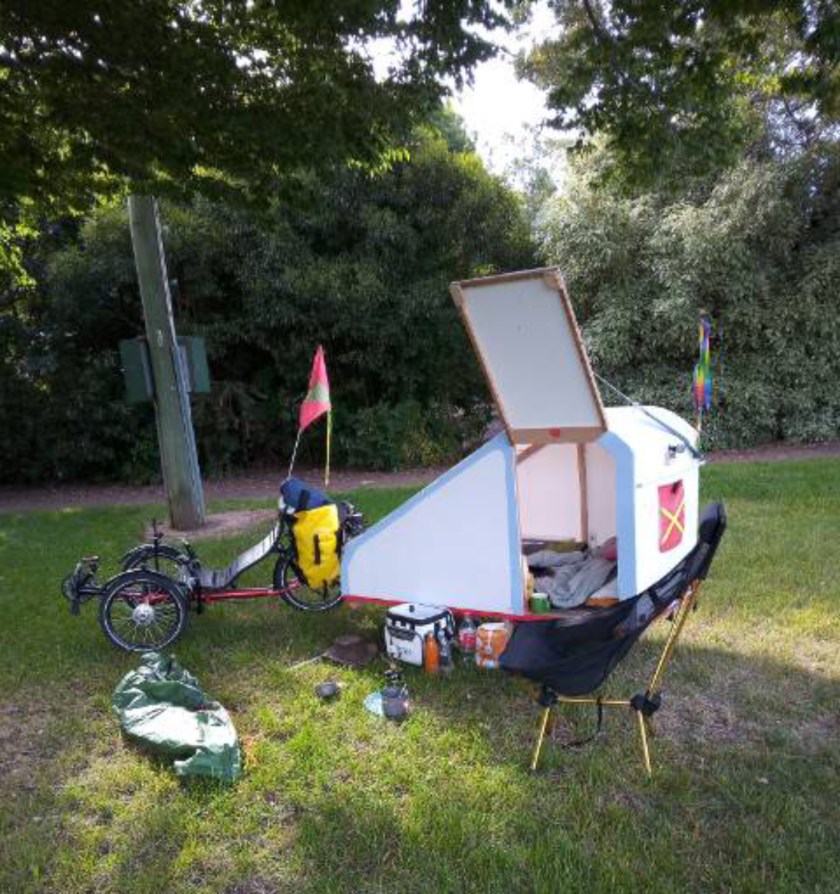
I’ll show more pictures of how it all works on the first overnight camp trip – which must be coming up soon. The camper is just about ready, the nights are drawing out and the days are getting warmer as we approach the Spring Equinox.
Colin it just itching for us to take off – will we be the first Tasmanians to go bicycle camper trailer-ing? We certainly won’t be the last.
’til next time ……………………..

Looking good Tony.
I would use clear gutter silicon, instead of hot glue 🙂
LikeLike
Thanks for the idea Patrick. If it comes apart I shall do it again using silicon
LikeLike
roll on spring and summer
LikeLike
Yep – can’t be far away now and with El Nino it should be a good one !!
LikeLike
“I took the tent out to the camper and found that after all that – the zip was at the wrong end!!” Waves of empathy on reading that. Been there and done that sort of thing so many times. Your project is looking great, Tony, and we’re eagerly anticipating photos of your camp setup during that first overnighter.
LikeLike
Thanks OBaTN. Yes, after the first run I will have to organise the entry / zip as per the design. A rear entry is not good.
LikeLike
Wow… and a vestibule, too! Such a fancy trailer – I’m so impressed. I’ve used that type of seam sealer on my tents, and it does work… though I’ve always applied it thicker than the stated directions. Glad you had your expert seamstress to help out and provide quality work. Yes, an overnight soon should be on the cards. This weekend would have been a perfect one here for a couple nights out… had I not just returned from overseas Thurs arvo and needed to tackle the lawn and gardens (I’ve already completely filled the green bin with weeds and you can’t even tell I’ve done anything!). Looking forward to the next installment 🙂
LikeLike
Thanks Emily. Everything grows so quickly in Spring you will find your work cut out. I am reorganising my veggie garden because next doors Silver Birch roots have found what used to be may deep beds. My plan is to grass the area and have 3 x 1 square metre raised beds plus a few bushes (Rosemary, Bay and other herbs.). Most maintenance will then be mowing!
LikeLike